Adding BL Touch to my Anycubic 4Max Pro
Goal: To improve the results from my 3D printer, and reduce the amount of time spent adjusting printer settings.
I ran into some issues where my prints would fail near the start of the build. This happened a few times within a weekend.
Adding BLTouch or some form of auto bed leveling had crossed my mind a few times previously.
I’d always manage to get the printer to behave itself before buying one.
This time, I went for it.
(Naturally, I got it printing again while the BLTouch was en route by changing the nozzle)
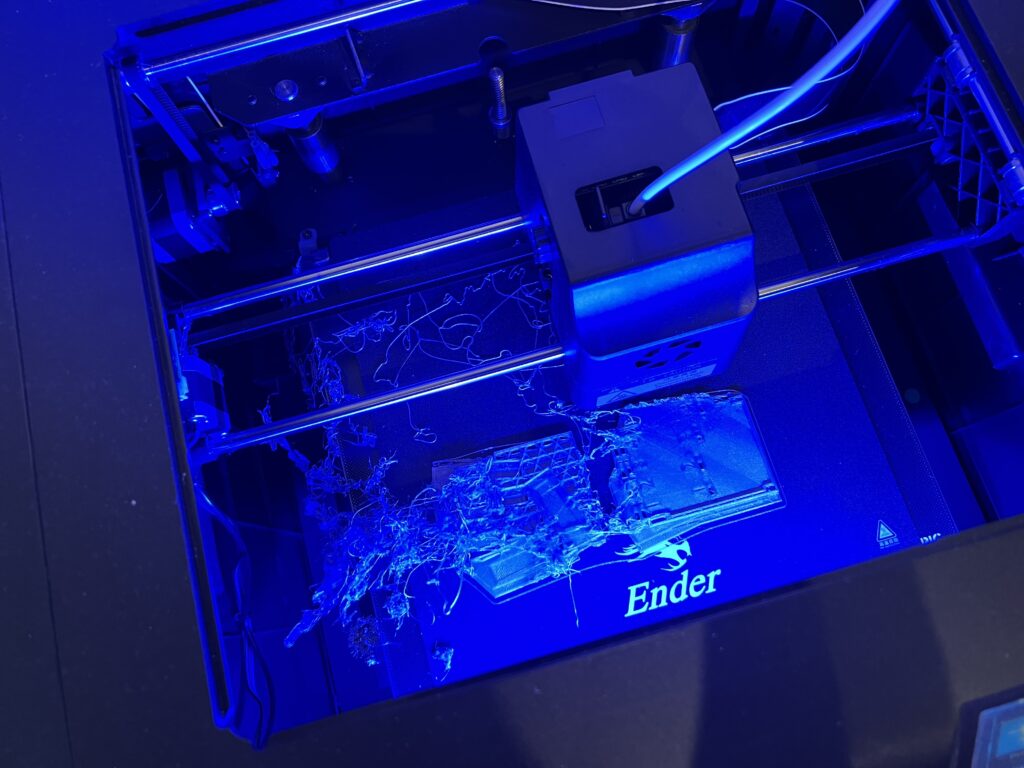
One of the failed prints
Sensor Mount:
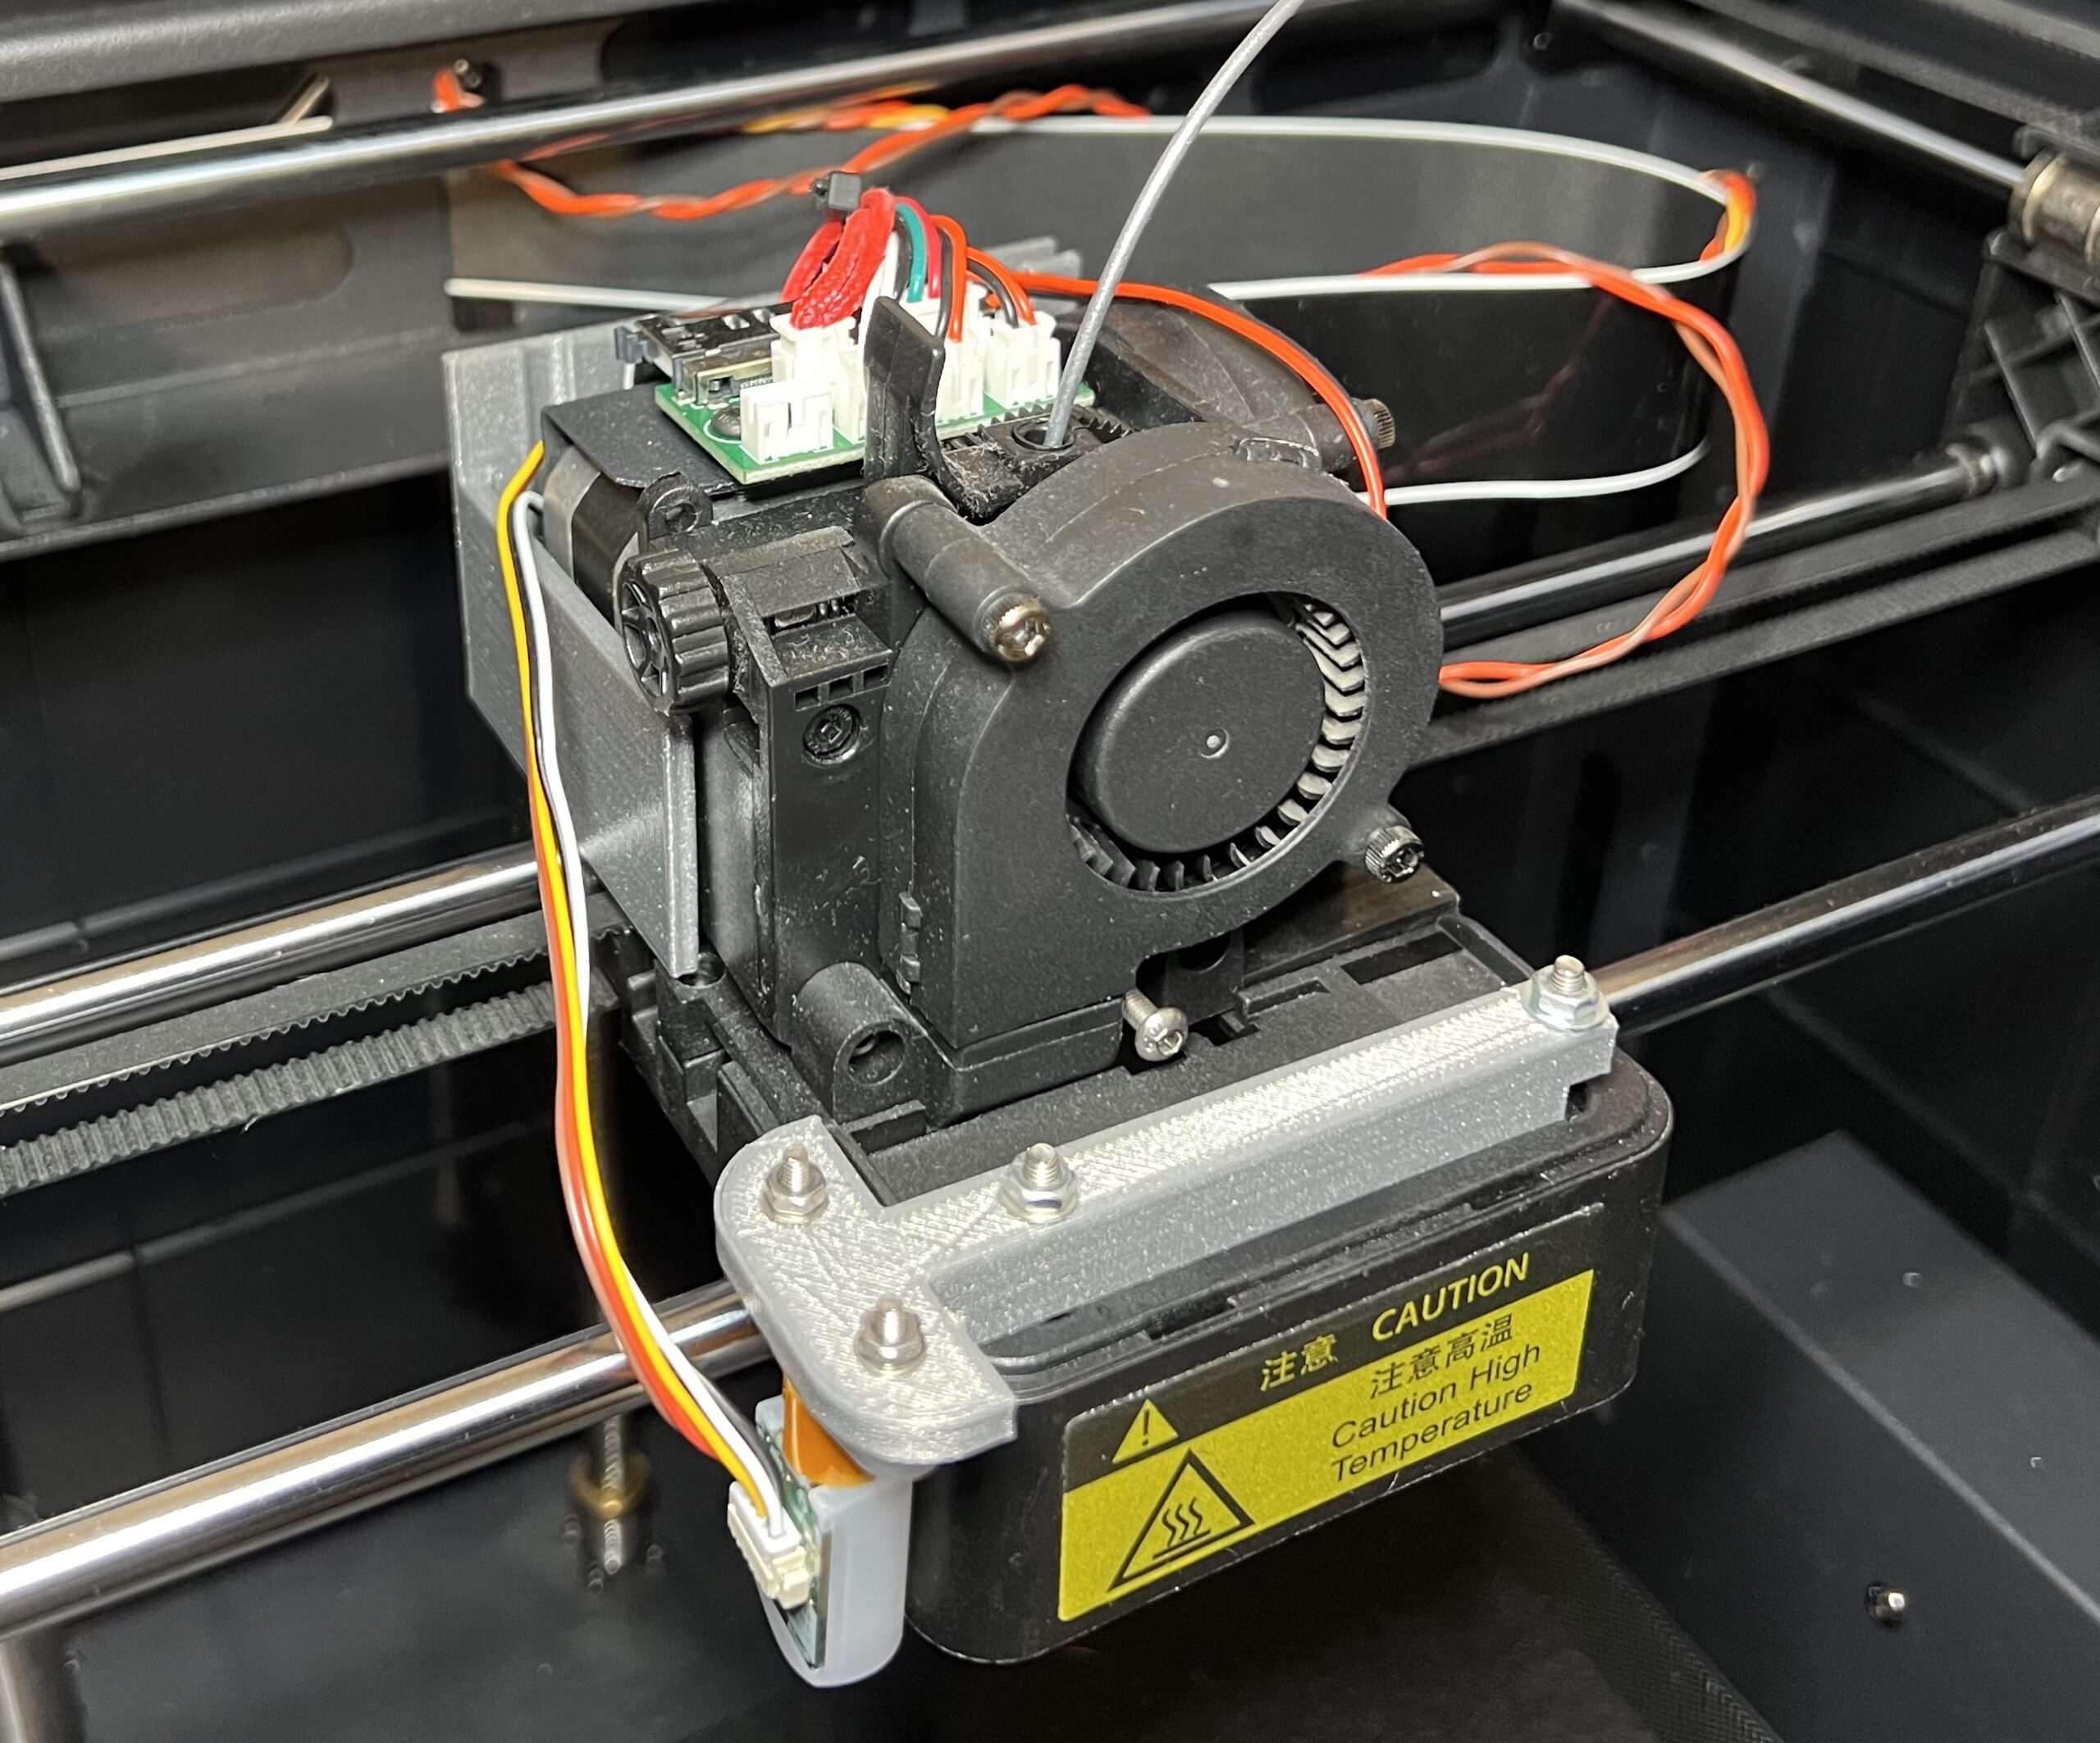
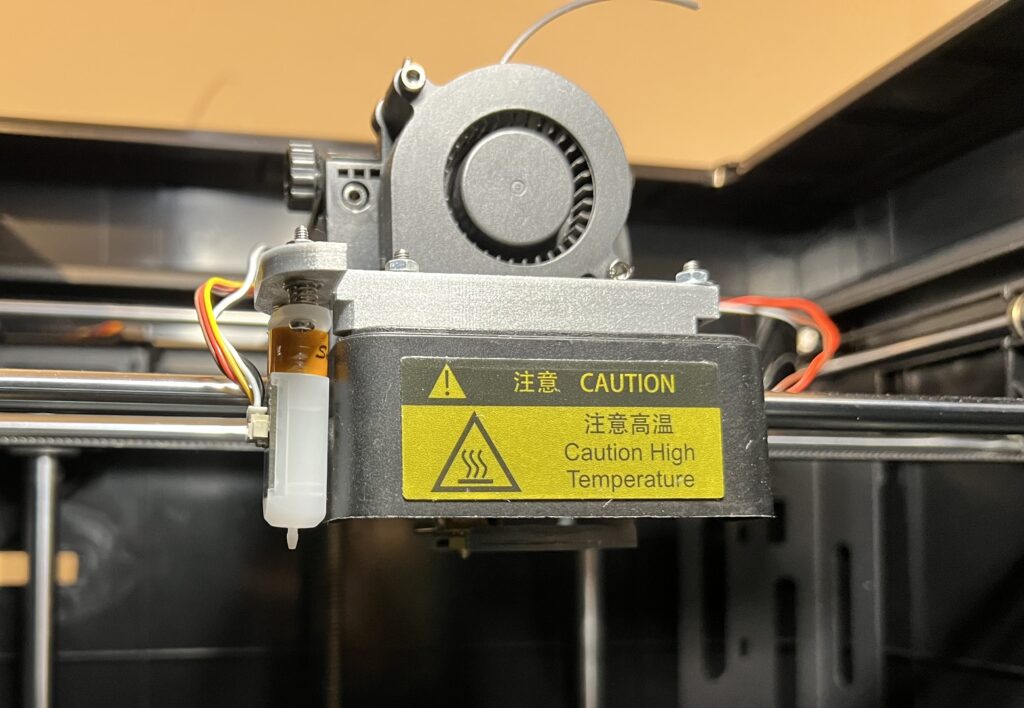
The first step is to mount the sensor. Initially I intended to design and build my own fixture, the other Anycubic mount that I’d come across on reddithere meant I needed to remove the hot end cover and attach another piece.
The extra piece (I learnt the hard way) is to allow the head to trigger the home switch in the x direction.
If the print head doesn’t activate the x home switch, it makes a lovely noise when it hits and tries to drive through the wall.
I took as many pictures as I could with some basic dimensions to feed this into CAD.
I was hoping, of the many screw holes already existing on the print head, I could repurpose or expand on one of these.
Part way through this and decided to pause, come back to it, and use the existing designed pieces to get my printer up and running again.
I ended up using this mount, and this side piece for the end stop.
I did need an additional spacer to activate the y home switch earlier, the mount would otherwise collide with the front of the printer.
This is attached on the side of the gantry that runs along the rails.
They’re not perfect, but they do a good enough job to call this stage done for now.
Wiring:
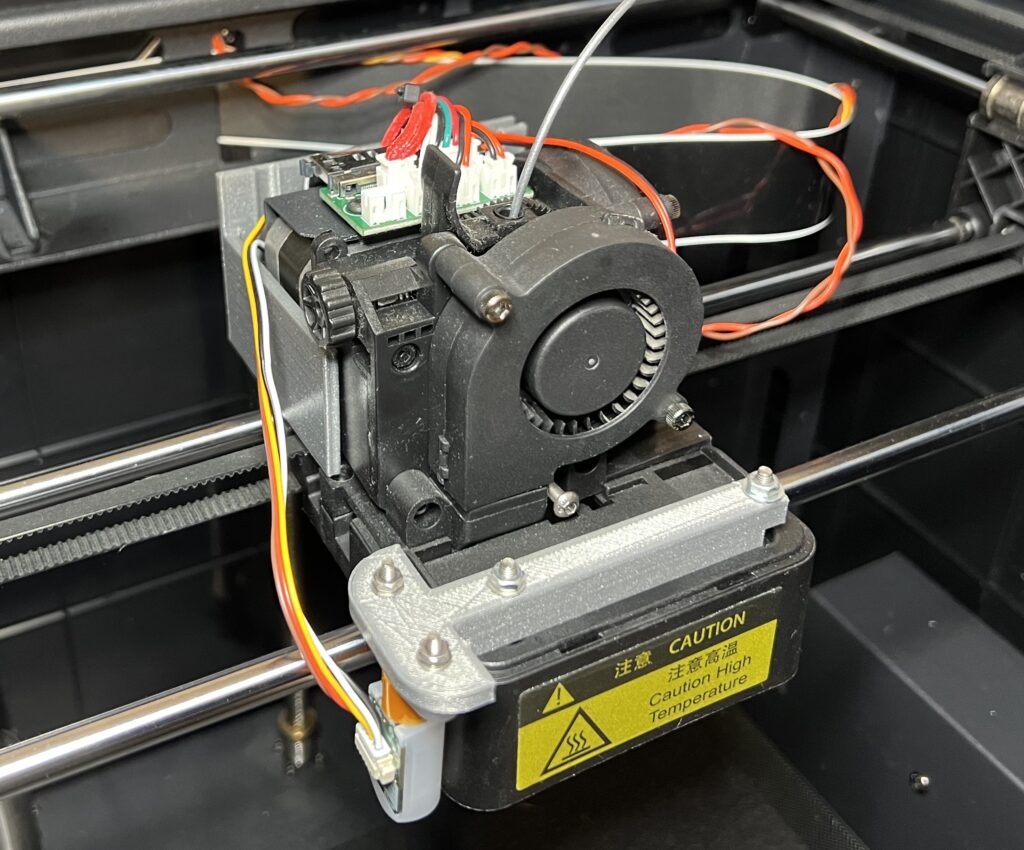
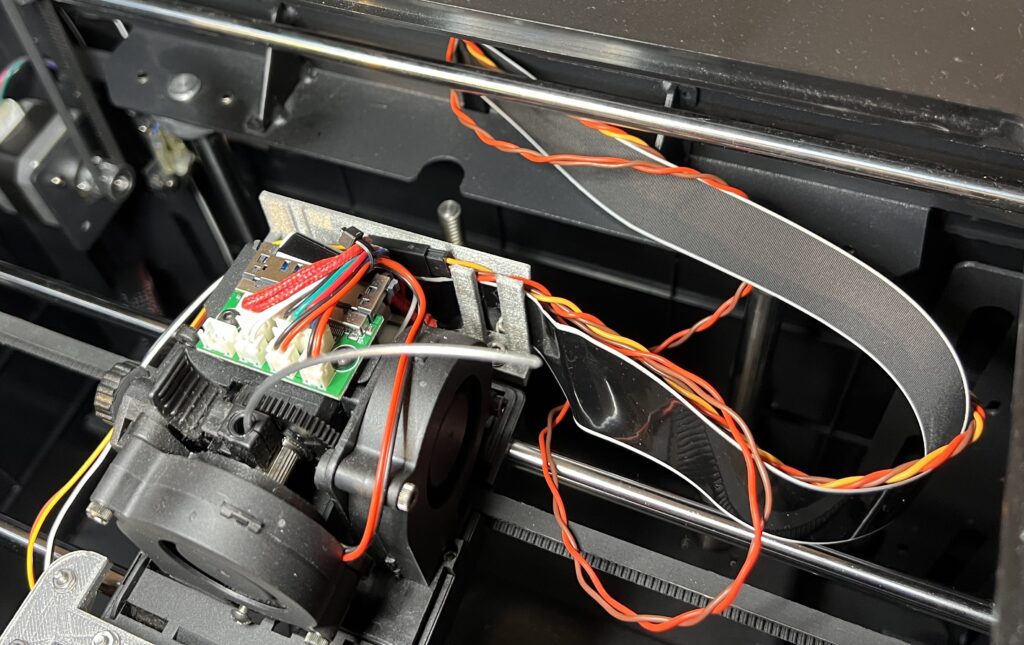
The wire harness needs to travel from the printer head through to the underside of the printer, where the main boards are.
There are 2 points of connection that need to be made, a 2 pin for the z-stop, and a 3 pin to the servo port.
I bought a long 3 wire twisted servo lead, which I cut two lengths of.
This allowed the two braids to following the existing routing to the printer head with no impingement to the the nozzles x-y reach.
For the 2 pin harness I removed one of the wires.
I think I’ll need to see if these harnesses need to be constrained more over the printer area but can check on that once I have everything else up and running.
To know where to connect to, I used the site here to identify which main board I have (a Trigorilla 1.0).
The 3 wire connects into Servo0, the 2-wire connects into the z end stop (this needed the existing connector to be removed).
The servo pin order on the Trigorilla board meant I needed to reorder the pins to keep it compatible with the BLTouch.
The polarity of the z-end stop also needs to be checked.
After the wires were connected and routed, the printer could be closed back up as software can be programmed through the side USB port.
Software:
The software to be loaded onto this is the Marlin firmware.
There are a few videos on how to get this setup on various printers.
However, these walk-throughs were done some time ago so the project has moved on since then in both good and bad ways.
In the good ways, there have been many tools and add-ons for VS Code to streamline the process of compiling and programming.
In bad ways, the Anycubic 4Max Pro isn’t one of the example configurations, and other Marlin variants added to this are not directly portable to the latest version.
The main issue is around the touchscreen and getting this linked to the Marlin FW.
If I try to skip setting up the interface screen completely in the Marlin config files then it won’t compile with other errors.
The next stage I need to take in this project is to understand if I can take Poket-Jony’s Marlin-A4MaxPro-1.19 or Poket-Jony’s Marlin-A4MaxPro-2.0.x firmware and combine it with the latest Marlin FW to get it usable.
Until next time.
Part 2 is here.
H
Helpful sites along they way:
https://teachingtechyt.github.io/upgrades.html#bltouch
https://www.youtube.com/watch?v=fN_ndWvXGBQ
https://github.com/MNieddu91/Marlin-AI3M-BLTouch/wiki/Adjust-configuration
https://github.com/mauricecyril/Anycubic-4MAX-PRO
https://github.com/knutwurst/Marlin-2-0-x-Anycubic-i3-MEGA-S/wiki/Beginner’s-Guide-(English)
https://github.com/Poket-Jony/Marlin-A4MaxPro-2.0.x
https://github.com/Poket-Jony/Marlin-A4MaxPro-1.1.9/blob/master/README.md
https://www.reddit.com/r/3Dprinting/comments/g8tto3/bltouch_on_an_anycubic_4max_pro/
https://github.com/davidramiro/Marlin-AI3M/wiki/Frequently-Asked-Questions
Note:
13/11/2024: Updates to formatting and words for clarity.

